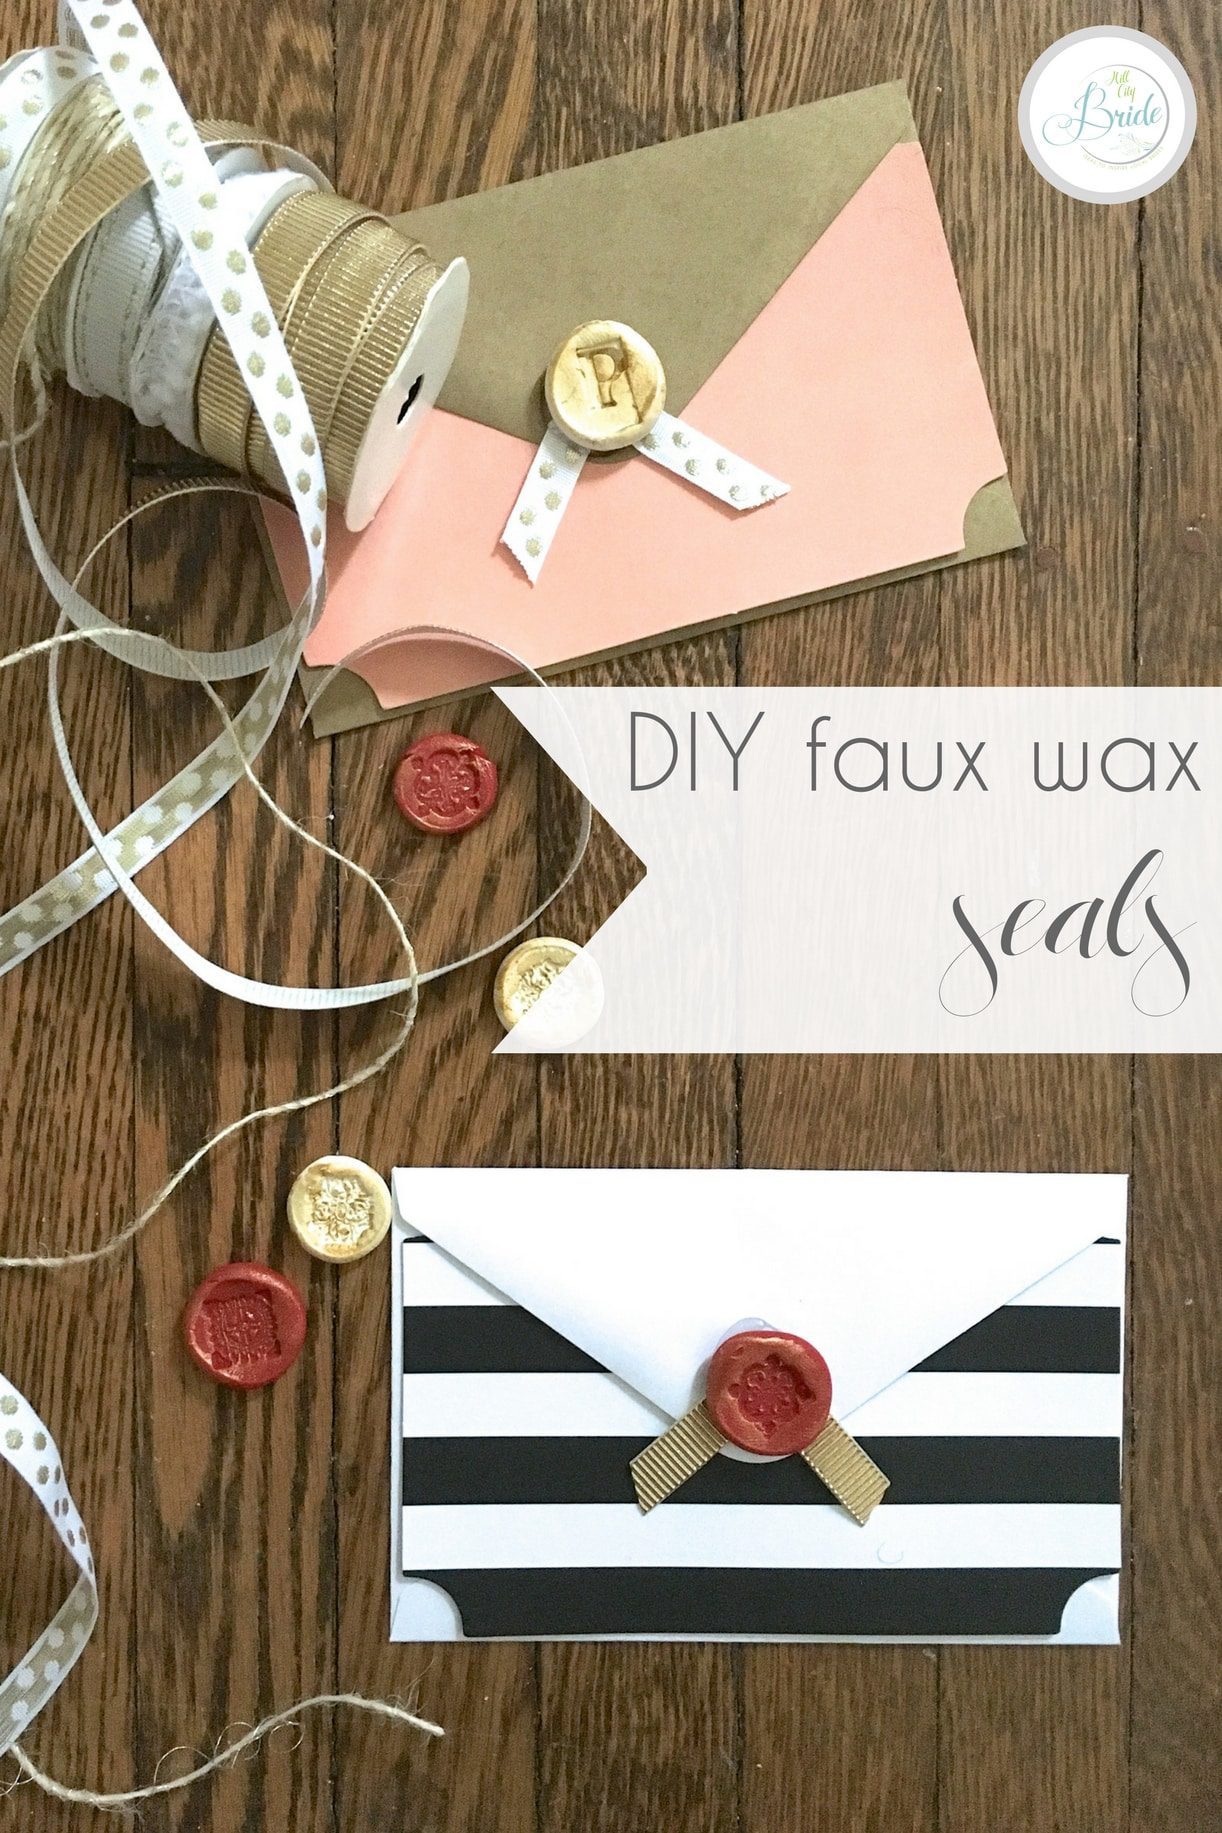
I had leftover polymer clay from another project, and I thought – I can make something fun with this! Hence, these DIY faux wax seals. Whether you choose to make these for a holiday or use them for a wedding, shower or thank you notes, these old fashioned seals add in an extra wow factor to an already lovely sentiment.
This post contains affiliate links to Etsy and purchases through those links help our blog to grow. Thank you!
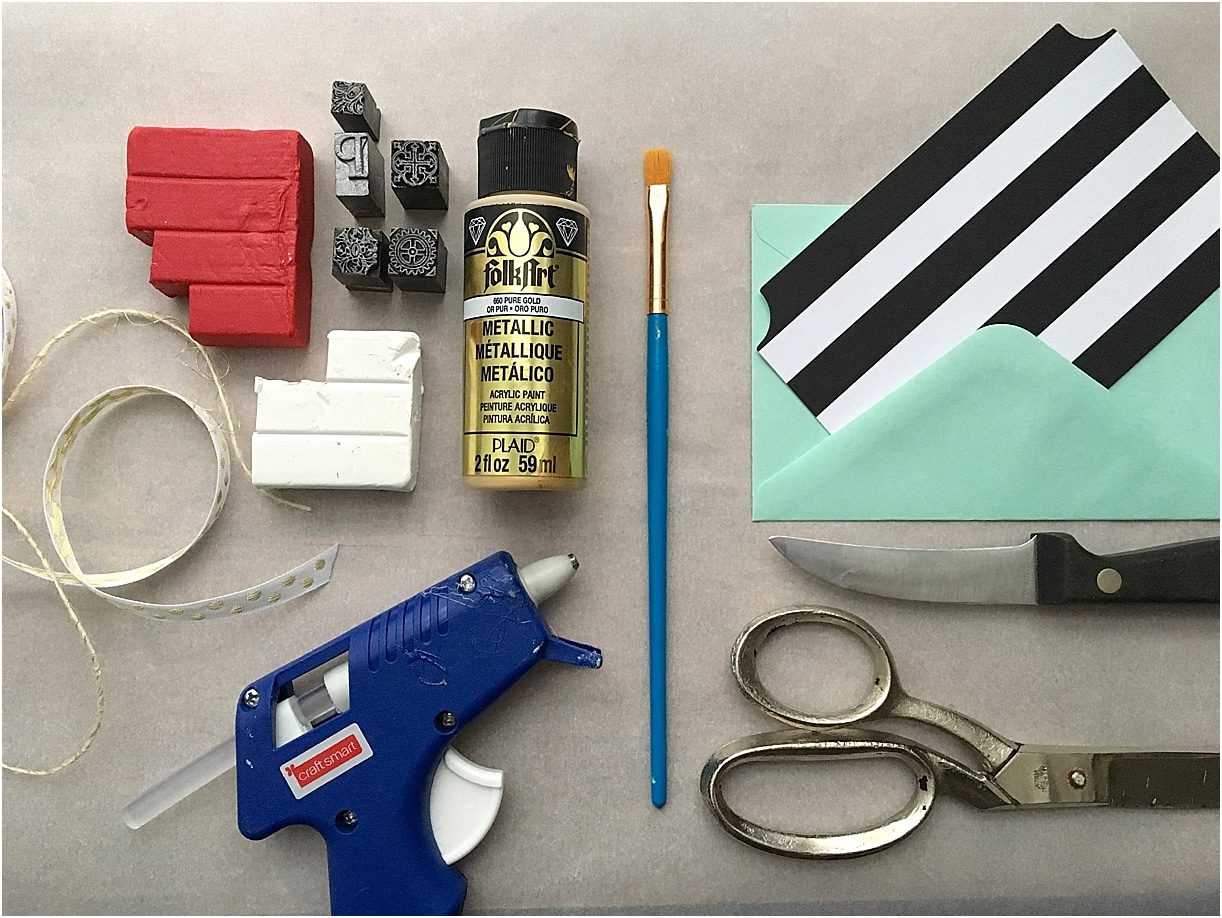
Here are the supplies you’ll need to make your own faux wax seals.
- Oven Bake Polymer Clay (available here)
- Stamps – either decorative or letters (see here)
- Hot Glue Gun and Glue Sticks (available here)
- Gold Paint (here)
- Paintbrush (see here)
- Card with Envelope (options here)
- Ribbon (options here)
- Knife
- Scissors
You will also need the use of an oven, parchment paper and something to put in the oven to cook the wax seals.
Now you’re ready to make your own seals!
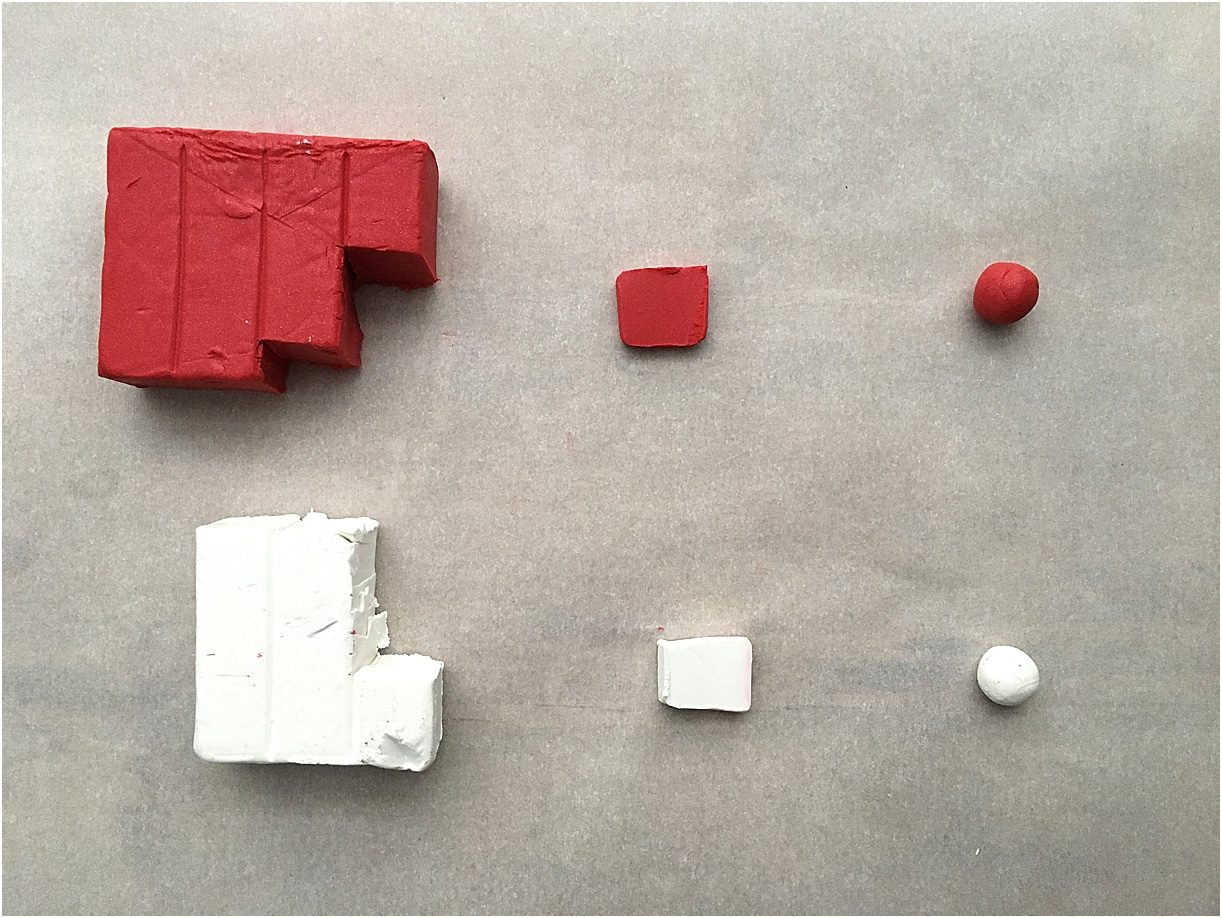
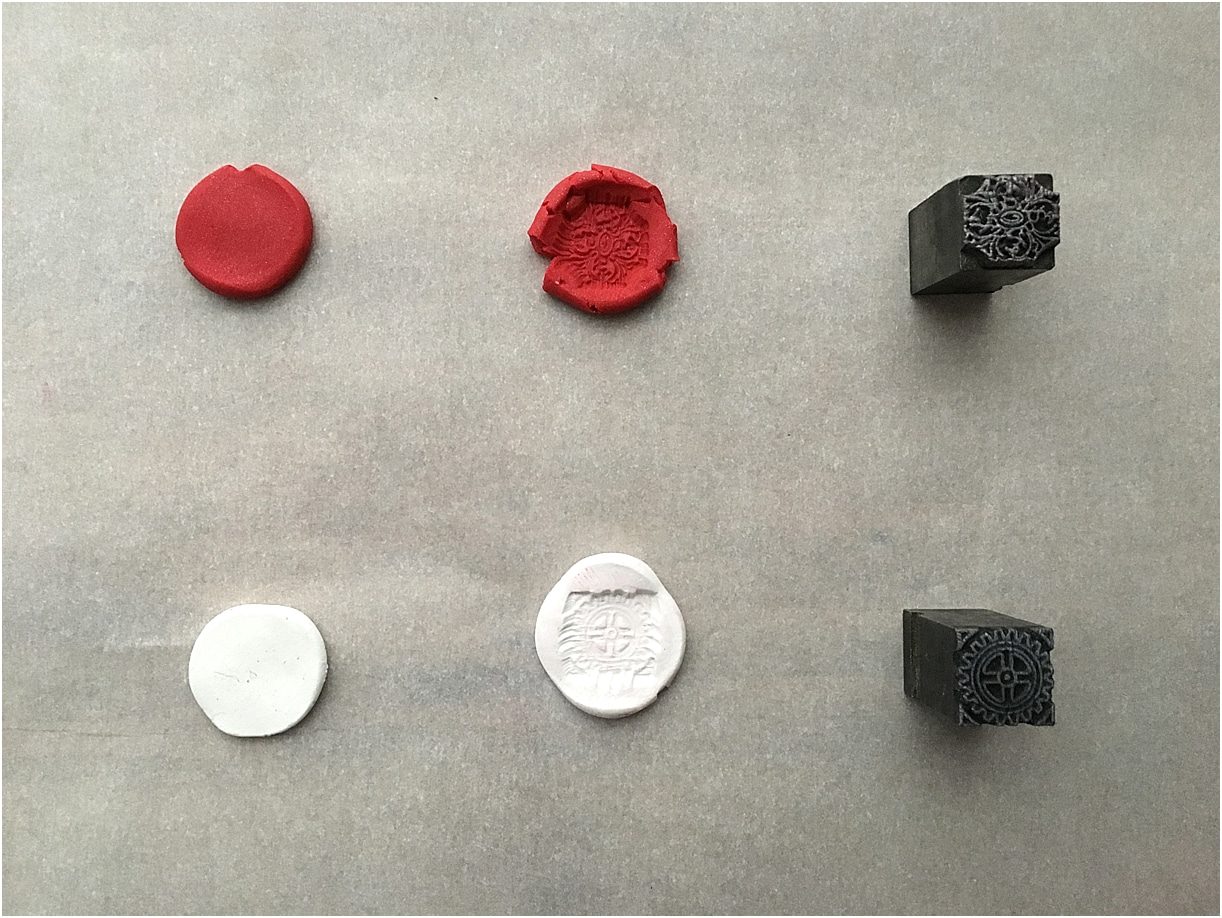
Start by cutting a tiny piece of the clay and roll it into a ball. I used a sliver that probably was the size of a dime but the thickness of a nickel.
Next, squish your rolled clay with your finger, but do not flatten it entirely. Then push the stamp into the clay so that it looks like a wax seal. Broken edges are ok and actually look a bit more authentic.
Then bake your clay according to the package.
Normally the polymer clay bakes for 15 minutes at 275 degrees F for this size of a project.
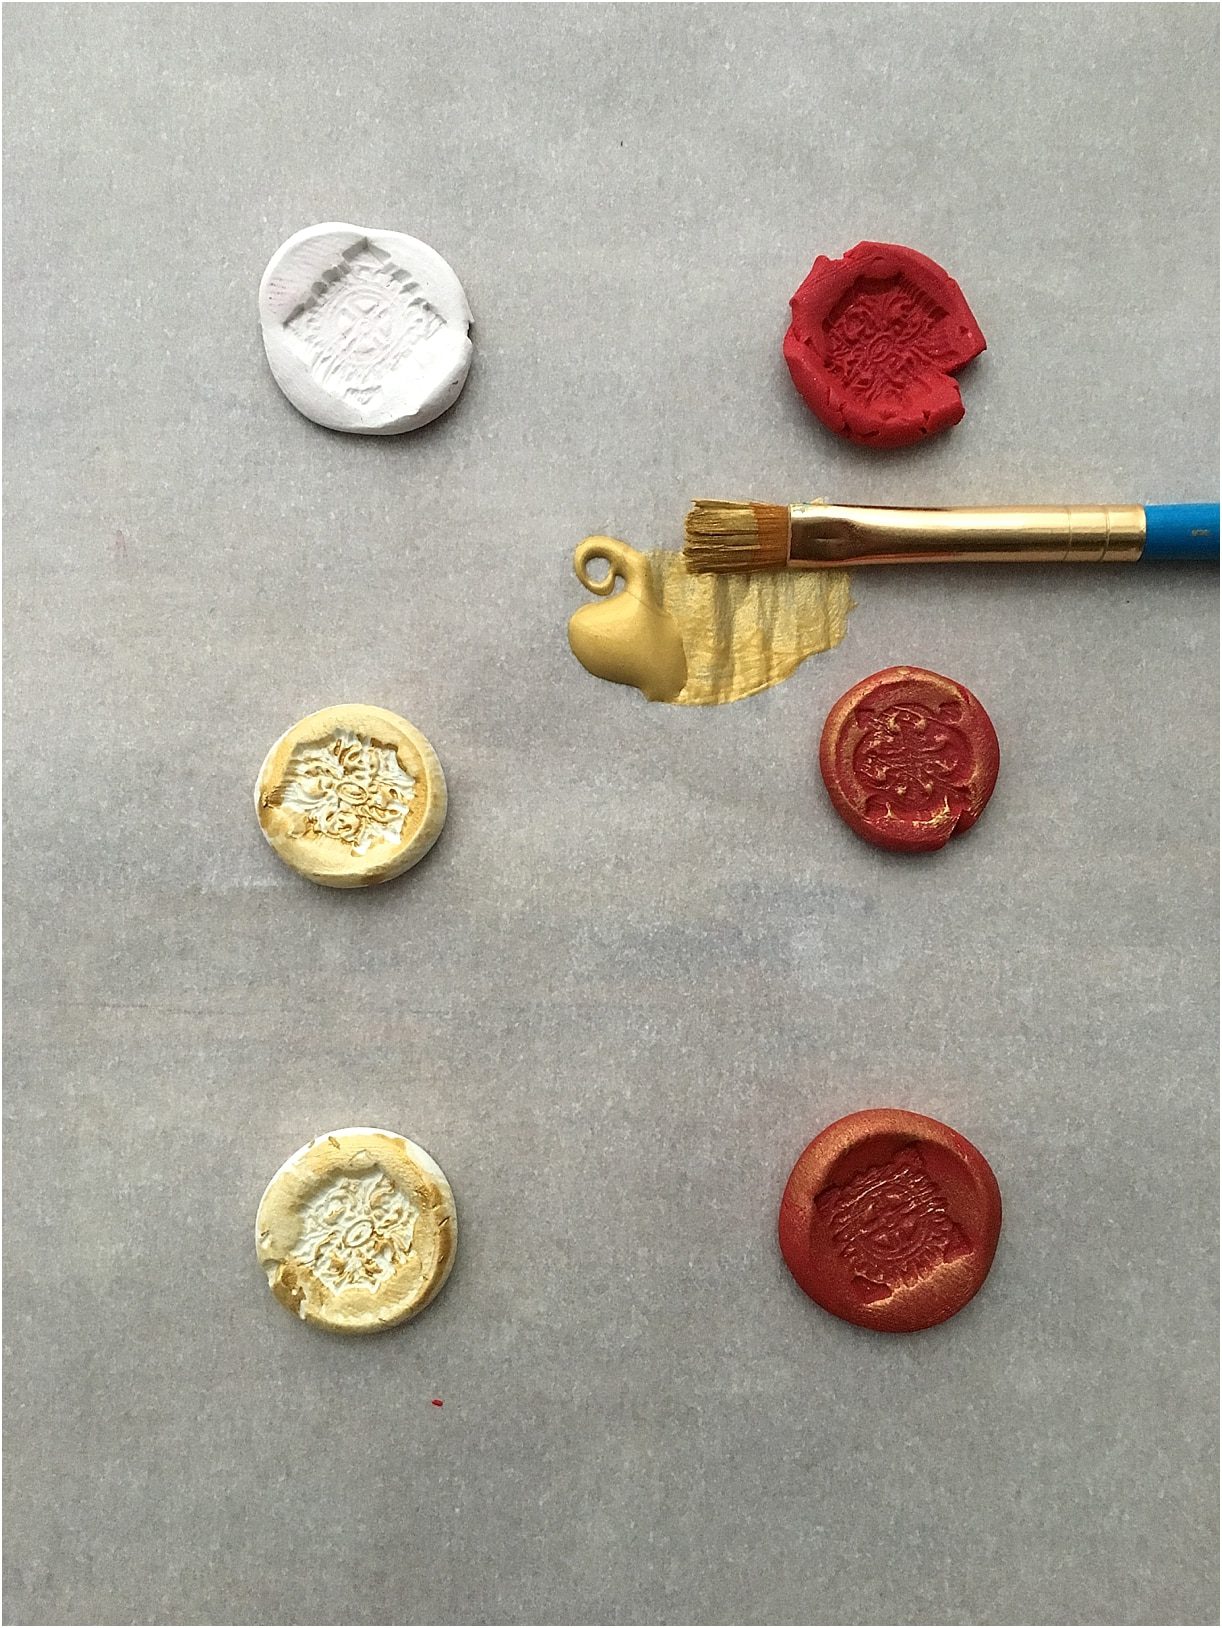
Once the clay has been cooked and cooled, take a dry paintbrush and brush a little bit of paint over the surface to bring out the detailing of the stamp.
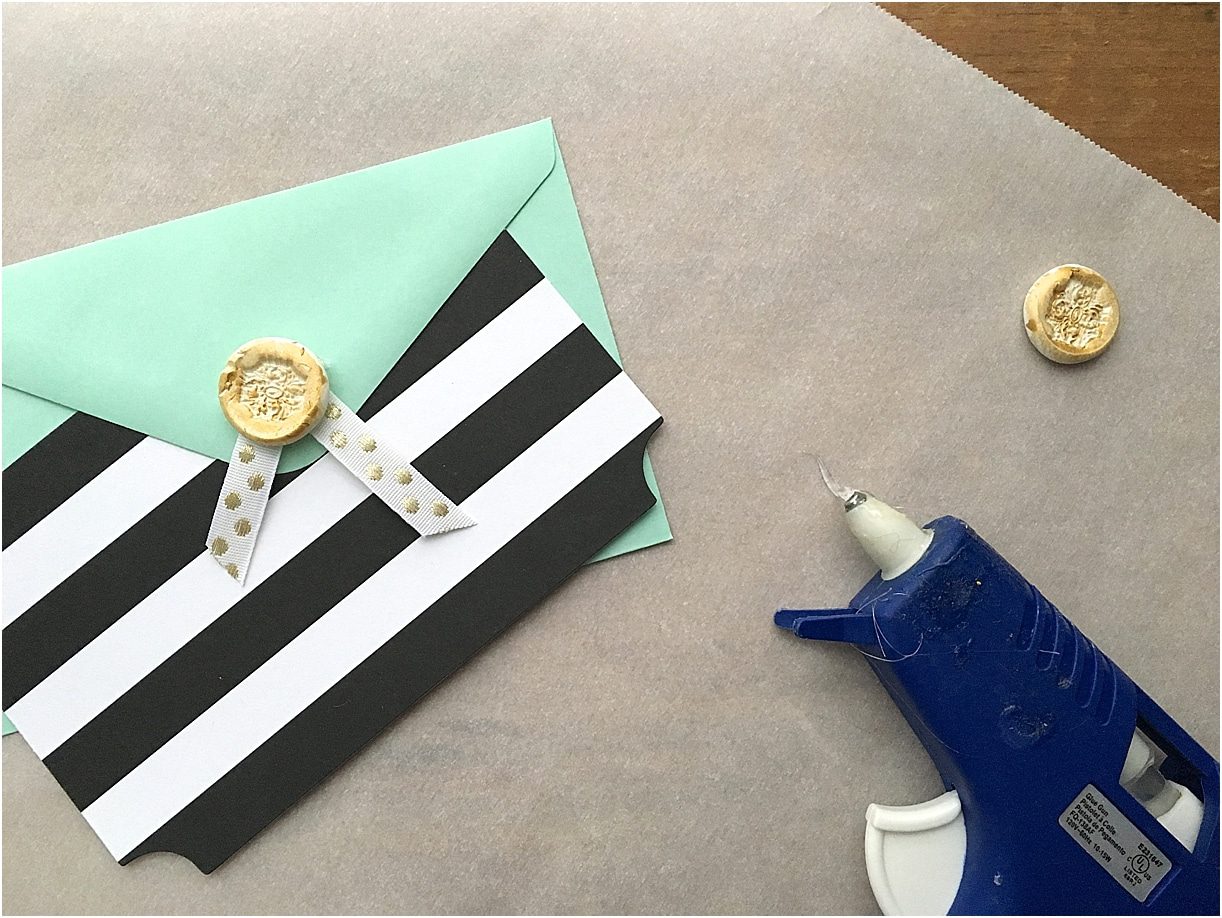
Now it’s time to decorate the envelope with the faux wax seal and ribbon.
Fold the ribbon so that both “right” sides are facing out. You will just need a short bit of ribbon. Add a blob of hot glue to the back of the clay seal and affix to the envelope. You can either use this to seal the envelope or just put it on the flap as a decorative element.
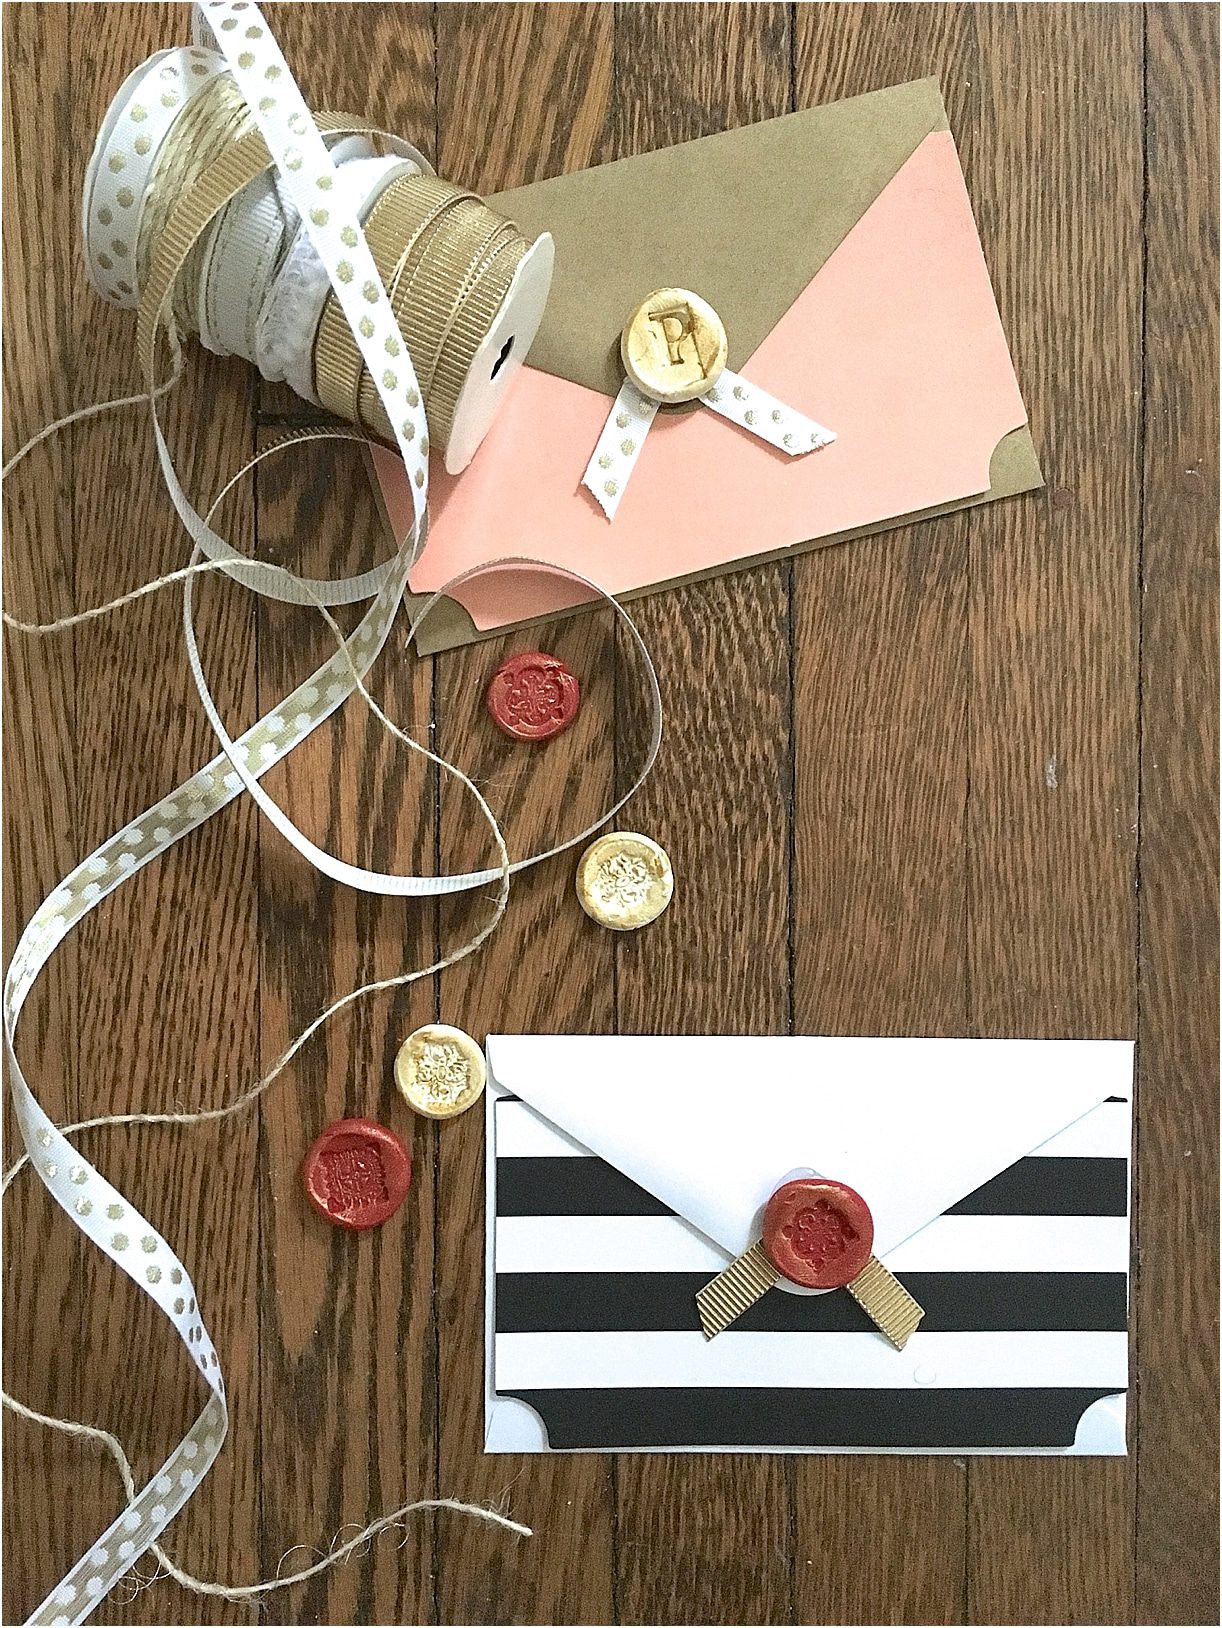
Now you’re finished!
Isn’t that cute? Try different colors and patterns and have fun with it. What a fun way to dress up an envelope for a special recipient. Happy DIYing!
Take a peek at my time on Daytime Blue Ridge demonstrating how to make these below.
Want more DIY projects? Check our archives here.